EPDM Seam Repair & Reinforcement
Seam failure is the single most common cause of EPDM roof leaks. We probe, diagnose, and reinforce failing laps with cleaning, priming, and reinforced seam tape — nationwide, on any EPDM roof.
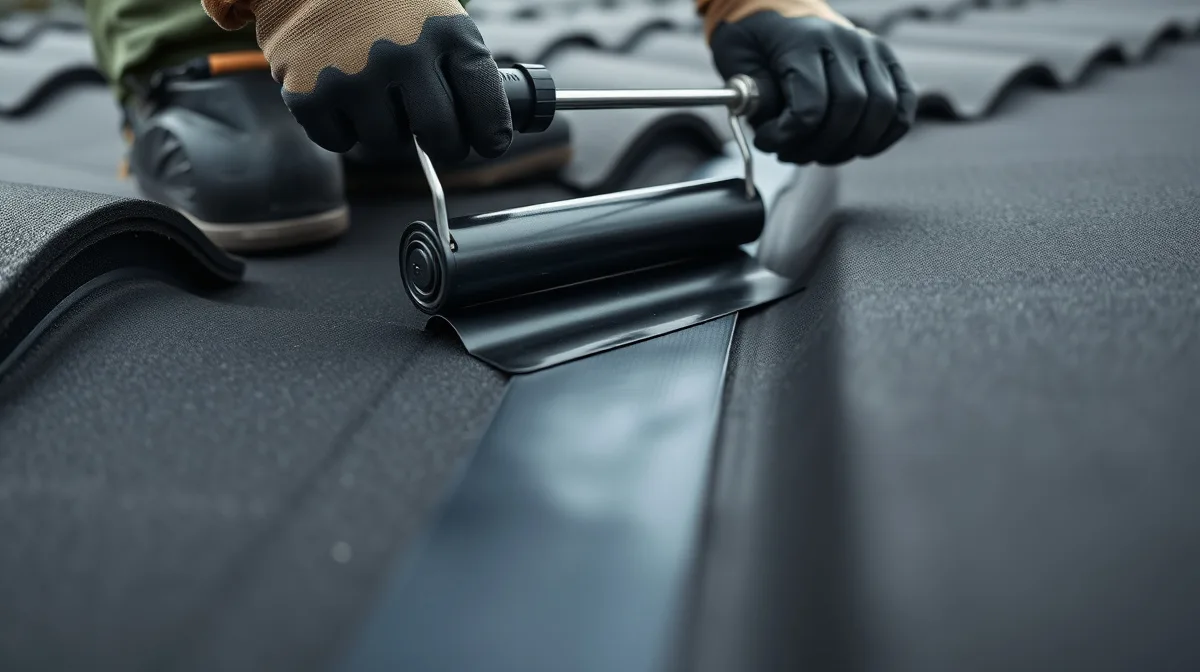
EPDM rubber roofing built its reputation on chemical resistance, weathering, and a membrane sheet itself that can last 20-30 years. The weak point was never the rubber — it's the seam. Every field seam, lap, and splice on an EPDM roof depends on either a glued/spliced bond or an adhesive-cured tape system to keep water out, and that bond has a shorter service life than the membrane sitting on either side of it. Across the millions of square feet of EPDM installed nationwide since the 1980s and '90s, seam failure is now the single most common cause of active leaks — more common than punctures, more common than flashing failures, more common than ponding-related wear. Property managers often chase a leak for months, patching flashing or replacing a section of membrane, before anyone actually probes the seams themselves and finds the real source. We built this service around that one failure mode specifically, because guessing at a leak source costs more than diagnosing it correctly the first time.
Our crews work nationwide on commercial, industrial, retail, multifamily, and institutional EPDM roofs, and seam work is where we spend the majority of our repair hours. A seam repair call starts with a hands-on probe of every lap in the affected area — not a visual walk from six feet away — because adhesion loss under an intact-looking seam is common and invisible until you lift it. From there we clean and prime the joint, apply reinforced seam tape rated for the existing membrane thickness, and add cover strips at high-stress transitions like corners, T-joints, and drain approaches. The goal on every seam job is the same: restore a fully adhered, water-tight lap without tearing out membrane that still has years of service life left in it. We document every probe result and repair with photos for your own maintenance records, and we'll tell you plainly if what you're looking at is a seam problem or something else — a flashing failure, a puncture, or ponding wear — because a misdiagnosed leak just comes back.
Why property owners choose it
- Targets the single most common cause of EPDM leaks instead of guessing at symptoms from the surface.
- Hands-on seam probing reveals adhesion loss you can't see by eye, not just failures that are already visible.
- Reinforced seam tape restores a compliant, water-tight lap without discarding membrane that's still sound.
- Crews are trained specifically in EPDM seam geometry, splice specifications, and manufacturer-rated repair systems.
- Every probe result and repair is documented with photos for the property's own maintenance and inspection file.
- Addressing seam failure early avoids deck rot, insulation saturation, and a forced, premature full replacement.
Why Glued and Taped Seams Fail First
Seam bonds on EPDM roofs are built from either contact adhesive with a lapped splice or, on newer installs, factory-applied or field-applied seam tape. Both systems are UV-sensitive at the exposed edge, and both go through the same thermal cycling every membrane surface endures — expansion in afternoon heat, contraction overnight, repeated across thousands of cycles a year. That movement works at the bond line specifically, since the seam is where two sheets meet rather than one continuous surface flexing together. Add in the reality of original installation quality — a seam rolled without full contact pressure, primer applied too thin, or splicing done in marginal weather — and you get bond lines that start failing years before the membrane field around them shows any wear. Most EPDM seam systems are rated for roughly 15-20 years of reliable adhesion; beyond that window, seam failure isn't a possibility, it's an expectation.
- UV breakdown of exposed splice edges and adhesive over time
- Repeated thermal expansion/contraction stressing the bond line at every lap
- Original installation shortcuts — thin primer, low roller pressure, poor weather during splicing
- Seam systems reaching or exceeding their 15-20 year adhesion life
- Standing water sitting directly on a seam, accelerating softening at the bond
Warning Signs at the Seams
Seam failure rarely announces itself with an obvious rip. It shows up as a slow, small-volume leak that tracks along a straight line inside the building — a run of ceiling stains that follows a seam course rather than a single point. From the roof, the tells are both visual and tactile: lifted or curling seam edges you can lift with a gloved hand, tape or splice adhesive that's gone brittle, chalky, or alligatored (a cracked, reptile-skin texture across the cured tape), and a slightly hollow or crunchy feel underfoot along the lap compared to the surrounding field. Granular or powdery residue at the seam edge is another sign the adhesive is breaking down. None of these signs mean the whole roof is failing — they mean that specific lap needs attention before water finds its way past it.
- Lifted, curling, or peeling seam edges you can lift by hand
- Alligatored or cracked cured tape surface
- Brittle, chalky, or granular adhesive residue at the lap
- Interior stains or drips that track a straight seam line rather than a single point
- A hollow or "crunchy" feel underfoot along the seam compared to the field membrane
Seam Probing, Cleaning, and Reinforcement
Every seam repair starts with probing, not patching. A seam probe is worked along the edge of each lap in the affected zone to find where adhesion has actually let go versus where it just looks worn — a seam can look fine on the surface and be open underneath, or look rough and still be fully bonded. Once we've mapped the real extent of the failure, the joint is cleaned of dirt, chalk, and old adhesive residue, then primed to the manufacturer's specification for that membrane. Reinforced seam tape is applied over the full length of the failed run, with cover strips layered on top at corners, T-joints, and drain or penetration approaches where stress concentrates. On roofs with widespread seam degradation, we'll recommend a full re-taping pass across the field rather than repeated spot repairs, since patching failure after failure eventually costs more than doing the whole run once.
- Full seam probing across the affected run to map real adhesion loss
- Cleaning and priming each joint to the manufacturer's spec
- Reinforced seam tape applied over the entire failed lap
- Cover strips added at corners, T-joints, and drain/penetration approaches
- Recommendation for a full re-taping pass when degradation is widespread rather than repeated spot patches
Ideal for
- Commercial and industrial buildings with EPDM membranes installed 12 or more years ago showing seam lift.
- Facility managers who've noticed slow leaks near roof edges, laps, or field seams with no obvious puncture.
- Properties with a patchwork repair history where prior seam patches have started failing again.
- Buildings undergoing pre-sale, refinance, or insurer-requested roof condition documentation.
- Owners who need a seam-specific fix rather than a full recoat or replacement quote.
What affects the cost
Seam Repair questions, answered
The clearest sign is an interior stain or drip that tracks in a line rather than a single spot, since seams run in straight courses across the roof. A hands-on seam probe during inspection confirms it — we check adhesion at the lap directly rather than guessing from a visual walk.
In almost every case, yes. Seam failure is a bond-line problem, not a membrane problem, so the field EPDM on either side of the lap is usually still sound. Reinforced seam tape and cover strips restore the bond without tearing out functional membrane.
A properly cleaned, primed, and taped seam repair is built to the same general service expectations as original seam work — commonly 15-20 years — provided the surrounding membrane isn't also nearing end of life. We'll tell you if the rest of the roof looks close behind.
Yes. Most of our seam repair calls are on roofs we didn't originally install. We probe and diagnose based on what the membrane and seam are actually doing now, regardless of who put it down originally.
A general inspection covers the whole roof — membrane condition, flashing, drains, ponding. Seam probing is a targeted, hands-on check that lifts and tests each lap for adhesion, which a visual walk-over won't catch since a failing seam can look intact from a few feet away.
Seam Repair done right, by a dedicated EPDM repair crew
Seam Repair isn't a commodity — the result depends entirely on how carefully it's diagnosed and repaired. We inspect the roof, identify the actual cause (not just the symptom), and repair to the standard that keeps a roof performing for years, not months.
We serve commercial, industrial, retail, multifamily, and institutional properties nationwide — no fixed local footprint means no compromise on responsiveness. Every job starts with a free, no-pressure roof inspection.
Just as important, we treat your roof as a system. Seam condition, membrane age, drainage, and flashing all interact — fixing one while ignoring another leaves the door open for the next leak. When we scope your seam repair, we look at the whole roof, so the finished result actually holds up.
Free inspection
We evaluate your roof and give you a clear, itemized estimate with no pressure.
Expert repair
We diagnose and repair your seam repair to spec — clean and on schedule.
A roof you can trust
A durable repair and honest guidance on what it takes to keep your roof watertight.
Related services
Ready for a free seam repair estimate?
Tell us about your EPDM roof and we'll put together a clear, no-pressure repair estimate — commercial or industrial, anywhere in the country.